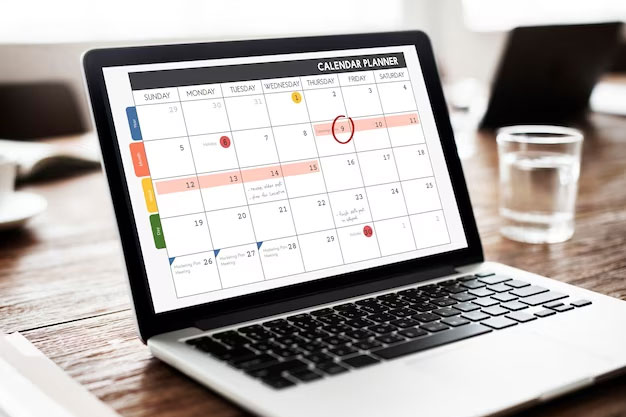
Are you ready to take control of your time and organize your life more efficiently? In today’s fast-paced world, managing your schedule can be a daunting task. But fear not! Creating a new Google Calendar can be your first step towards becoming a scheduling pro.
1. Sign In to Your Google Account
To create a new Google Calendar, you’ll need to sign in to your Google account. Make sure you’re logged in before you proceed.
2. Access Google Calendar
Once you’re logged in, navigate to Google Calendar. You can do this by clicking on the “Apps” icon on the top right corner of your Google homepage and selecting “Calendar” from the dropdown menu.
3. Click on “Create”
Now that you’re in Google Calendar, it’s time to create your new calendar. Look for the “Create” button on the left sidebar and give it a click.
4. Choose a Name
A pop-up window will appear, asking you to name your new calendar. This is a crucial step because your calendar’s name should reflect its purpose. Whether it’s for work, personal use, or a specific project, choose a name that makes sense to you.
5. Add a Description (Optional)
Adding a description is optional but can be helpful, especially if you’re creating a calendar for a specific project or group. A brief description can provide context for others who may access your calendar.
6. Set Your Time Zone
Make sure your calendar is set to the correct time zone. This ensures that your events and appointments are scheduled accurately according to your location.
7. Share Your Calendar (Optional)
If you’re creating a calendar for a group or want to share it with others, you can do so by clicking on the “Share with specific people” option. Enter the email addresses of the individuals you want to share the calendar with and set their permissions.

Apple iPhone 11, 64GB, Black - Unlocked (Renewed)
$236.99

Apple iPhone 12, 64GB, Black - Fully Unlocked (Renewed)
$295.00
Apple iPhone SE 2nd Generation, US Version, 64GB, Black - Unlocked (Renewed)
$148.75

Apple iPhone XR, 64GB, Black - Unlocked (Renewed)
Apple iPhone 13, 128GB, Blue - Unlocked (Renewed)
$457.55
Apple iPhone 12 Pro, 128GB, Pacific Blue - Fully Unlocked (Renewed)
$400.00

Apple iPhone 12 Mini, 64GB, White - Unlocked (Renewed)
$273.95


Apple iPhone 8 Plus 64GB Space Gray LTE Cellular MX8X2LL/A
8. Customize Your Calendar
Google Calendar offers various customization options. You can change the calendar’s color, adjust notification settings, and even choose a different time format.
9. Click “Create Calendar”
Once you’ve filled in all the necessary details and customized your calendar to your liking, click the “Create Calendar” button.
10. Start Adding Events
Your new Google Calendar is now ready to use. Begin adding events, appointments, and tasks by clicking on the desired date and time slot. You can also import events from other calendars or apps.
Conclusion
Creating a new Google Calendar is a straightforward process that can significantly improve your time management skills. With your personalized calendar, you’ll be able to stay organized, set reminders, and share your schedule with others seamlessly. So, go ahead, create a new Google Calendar, and take the first step toward mastering your schedule. Happy scheduling!
Remember, the key to successfully creating a new Google Calendar is to stay organized and make the most of the customization options available to you. Your new calendar will help you stay on top of your appointments, tasks, and important dates, ensuring that you’re always in control of your time.
In summary, to create a new Google Calendar, follow these steps:
- Sign in to your Google account.
- Access Google Calendar.
- Click on “Create.”
- Choose a name for your new calendar.
- Add a description (optional).
- Set your time zone.
- Share your calendar (optional).
- Customize your calendar.
- Click “Create Calendar.”
- Start adding events.
With these simple steps, you’ll have a brand new Google Calendar at your disposal to help you stay organized and manage your time effectively. Happy scheduling!